Why Do Washing Machine Hoses Fail in Moore Homes?
Washing machine hoses fail due to age, heat exposure, water pressure fluctuations, and physical wear. In our experience working across Moore, we see burst hoses more often during summer months when attic heat radiates down into laundry rooms. The combination of Oklahoma's temperature swings and constant pressure cycling weakens rubber compounds over time.
Most hose failures happen when nobody is home. The washer sits idle with full water pressure against the hose walls. A small crack becomes a full rupture. Within an hour, hundreds of gallons flood the laundry room, hallways, and adjacent spaces. We recently responded to a home near Westmoore High School where a failed hose dumped water for three hours before the homeowner returned. The laminate flooring buckled throughout the main living area, and we had to remove baseboards in four rooms.
Standard rubber hoses have a lifespan of about five years under normal conditions. That window shrinks in hot environments or homes with high water pressure. The hoses connect to your washing machine's hot and cold water supply valves using threaded fittings. Over time, these connections can loosen or the rubber gaskets inside can harden and crack.
Common Hose Failure Points
- Threaded connections where hoses attach to valves
- Mid-span cracks from repeated flexing during spin cycles
- Bulging spots indicating internal reinforcement breakdown
- Corrosion at metal crimp points on older hoses
- Heat damage near water heaters or attic spaces
Water pressure in Moore typically ranges from 50 to 80 PSI. Older homes sometimes exceed 100 PSI without a pressure regulator. High pressure accelerates hose fatigue. If you hear banging pipes when the washer fills or shuts off, you likely have water hammer issues that stress hoses further.
What Are the Best Replacement Hose Options?
Braided stainless steel hoses with internal rubber cores offer the best protection against burst failures. These hoses feature a flexible rubber tube surrounded by woven stainless steel mesh that contains ruptures if the inner tube fails. They cost more upfront but last longer and reduce catastrophic flood risk significantly.
You'll find three main hose types at hardware stores. Standard rubber hoses are the cheapest but have the shortest lifespan. Reinforced rubber hoses include fabric or wire braiding within the rubber itself. Braided stainless steel hoses have a separate containment layer. We always recommend the braided stainless option for water damage prevention.
Hose Type Comparison
- Standard rubber: 3-5 year lifespan, lowest cost
- Reinforced rubber: 5-7 years, moderate protection
- Braided stainless steel: 8-10 years, best containment
- Auto-shutoff hoses: premium cost, mechanical failure protection
Auto-shutoff hoses include a valve mechanism that stops water flow if pressure suddenly drops. They cost two to three times more than standard braided hoses. The technology works well but adds another mechanical component that can fail. For most Moore homeowners, quality braided stainless hoses provide excellent protection without the complexity.
Check hose length before purchasing. Standard hoses come in four-foot and six-foot lengths. Measure from your wall valves to the washer connections. You want minimal excess length to reduce kinking, but enough slack for the washer to move slightly during spin cycles. Avoid stretching hoses tight or allowing them to form sharp bends.
How Do You Replace Washing Machine Hoses Safely?
Turn off both hot and cold water supply valves behind the washer before disconnecting any hoses. Have towels and a bucket ready because water remains trapped in the hoses and washer inlet even after shutting the valves. Unscrew the existing hoses by hand or with channel-lock pliers, turning counterclockwise.
Inspect the valve threads and washer inlet connections for corrosion or damage. Clean any mineral buildup with a damp cloth. Check that rubber washers are present inside each new hose fitting. These small gaskets create the watertight seal. Missing washers cause leaks immediately.
Thread new hoses onto the valves first, then connect to the washer. Hand-tighten each connection, then use pliers to snug an additional quarter-turn. Overtightening can crack the plastic valve bodies common in newer homes. You want firm contact without excessive force.
Installation Steps
- Shut off hot and cold water valves completely
- Place bucket and towels beneath connections
- Unscrew old hoses from valves and washer
- Inspect valve threads and clean if needed
- Verify rubber washers in new hose fittings
- Attach new hoses to valves, then washer
- Hand-tighten plus quarter-turn with pliers
- Open valves slowly and check for leaks
After connecting both hoses, turn the water valves back on slowly. Watch each connection point for drips or sprays. Run a test wash cycle while you're present. Check behind the washer during the fill and rinse phases. A slow drip can become a significant leak over time.
We recommend photographing your installation with a dated image on your phone. This creates a replacement record. Set a calendar reminder for three years out to inspect the hoses again. Proactive replacement beats emergency water damage restoration every time.
What Warning Signs Indicate Hoses Need Replacement?
Visible cracks, bulges, or discoloration mean immediate replacement is needed. Pull your washer away from the wall twice a year to inspect hoses under good lighting. Run your hand along the entire length, feeling for soft spots or texture changes that indicate internal breakdown.
Customers tell us they rarely check hoses until a problem develops. That approach costs thousands in avoidable damage. A five-minute inspection every six months catches problems early. Look at the hose ends where they connect to fittings. Cracks often start here from repeated vibration.
Mineral deposits around connections suggest slow seepage. White or rust-colored buildup means water has been wicking past the seal. Tighten the connection first, then monitor for a week. If deposits return, replace the hose regardless of age.
Visual Inspection Checklist
- Cracks or splits anywhere along hose length
- Bulging or swollen sections of hose body
- Brittle or stiff texture when flexing hose
- Corrosion or rust at crimp connections
- Water stains on floor beneath connections
- Mineral deposits around threaded fittings
Age matters even without visible damage. We've seen hoses that looked perfect externally fail during a fill cycle. The internal reinforcement degrades before exterior signs appear. If your hoses are over five years old, replacement is cheap insurance against a major flood.
Moore's tornado history means many homes were rebuilt or renovated in recent years. Check your home inspection report or builder documents. If you don't know the hose age, assume they're original to the washer and plan replacement soon.
Moore's hard water accelerates hose deterioration faster than the national average. The high mineral content in Oklahoma aquifers leaves calcium and lime deposits inside hoses, creating internal pressure points that weaken rubber from the inside out. You might notice your cold water hose failing first because cold water carries more dissolved minerals than hot. If you see chalky white residue on fixtures throughout your home, your washing machine hoses are experiencing the same buildup internally. This makes the typical five-year replacement guideline too generous for Moore homes. We recommend three to four years maximum in this area.
Temperature swings in Oklahoma also stress hose materials differently than moderate climates. A washing machine in an uninsulated garage or utility room experiences summer temperatures above 100 degrees and winter lows in the 20s. Rubber compounds expand and contract with each cycle, creating microfractures invisible to the naked eye. These fractures become failure points during high-pressure fill cycles. If your washer sits in a space without climate control, inspect hoses every three months instead of twice yearly. The cost difference between a $30 hose replacement and a $4,000 to $8,000 water damage claim makes frequent checks worthwhile.
Listen for changes in water flow sound during the fill cycle. A hose developing internal separation or delamination often produces a fluttering or pulsing noise as water rushes through weakened sections. The sound resembles a playing card in bicycle spokes. This audible warning appears weeks or months before visible exterior damage shows up. Homeowners often dismiss the noise as normal machine operation, but it signals structural failure inside the hose wall.
Check the date stamp molded into your hoses. Manufacturers print the production date directly on the rubber, usually in a format like "0821" for August 2021. Even if you installed hoses years after manufacture, the rubber ages from production date, not installation date. A hose sitting on a warehouse shelf for two years before you bought it has already used up part of its service life. We find many Moore homeowners unaware their "new" hoses were already three or four years old at purchase.
What Should You Do If a Washing Machine Hose Bursts?
Shut off the water supply valves immediately to stop the flow. If you can't access the valves behind the washer, shut off the main water supply to your home. Every second counts because a burst hose releases three to five gallons per minute under typical pressure.
We responded to a home near Moore High School where a hose failed at 2 AM while the family slept. The water ran for six hours before they discovered it. The hallway, two bedrooms, and living room sustained major damage. Carpet padding held water like a sponge. We extracted over 200 gallons and ran dehumidifiers for four days.
After stopping the water, move furniture and belongings away from wet areas if possible. Don't use regular household vacuums to remove standing water because electrical shock risk exists. Call a professional restoration company quickly. Water wicks into wall cavities and under flooring rapidly. The first 24 hours determine whether you save materials or face replacement costs.
Document everything with photos and video before cleanup begins. Your insurance adjuster needs this evidence. Take wide shots showing the extent of damage and close-ups of affected areas. Capture serial numbers on damaged appliances. Note water levels on walls if flooding was significant.
Pull back wet carpet edges to check the padding and subfloor. Padding rarely dries adequately and usually requires replacement. Concrete slabs handle water better than wood subfloors. Hardwood and laminate flooring often cup or buckle within hours of exposure. Quick action saves money, but some materials won't survive regardless of response time.
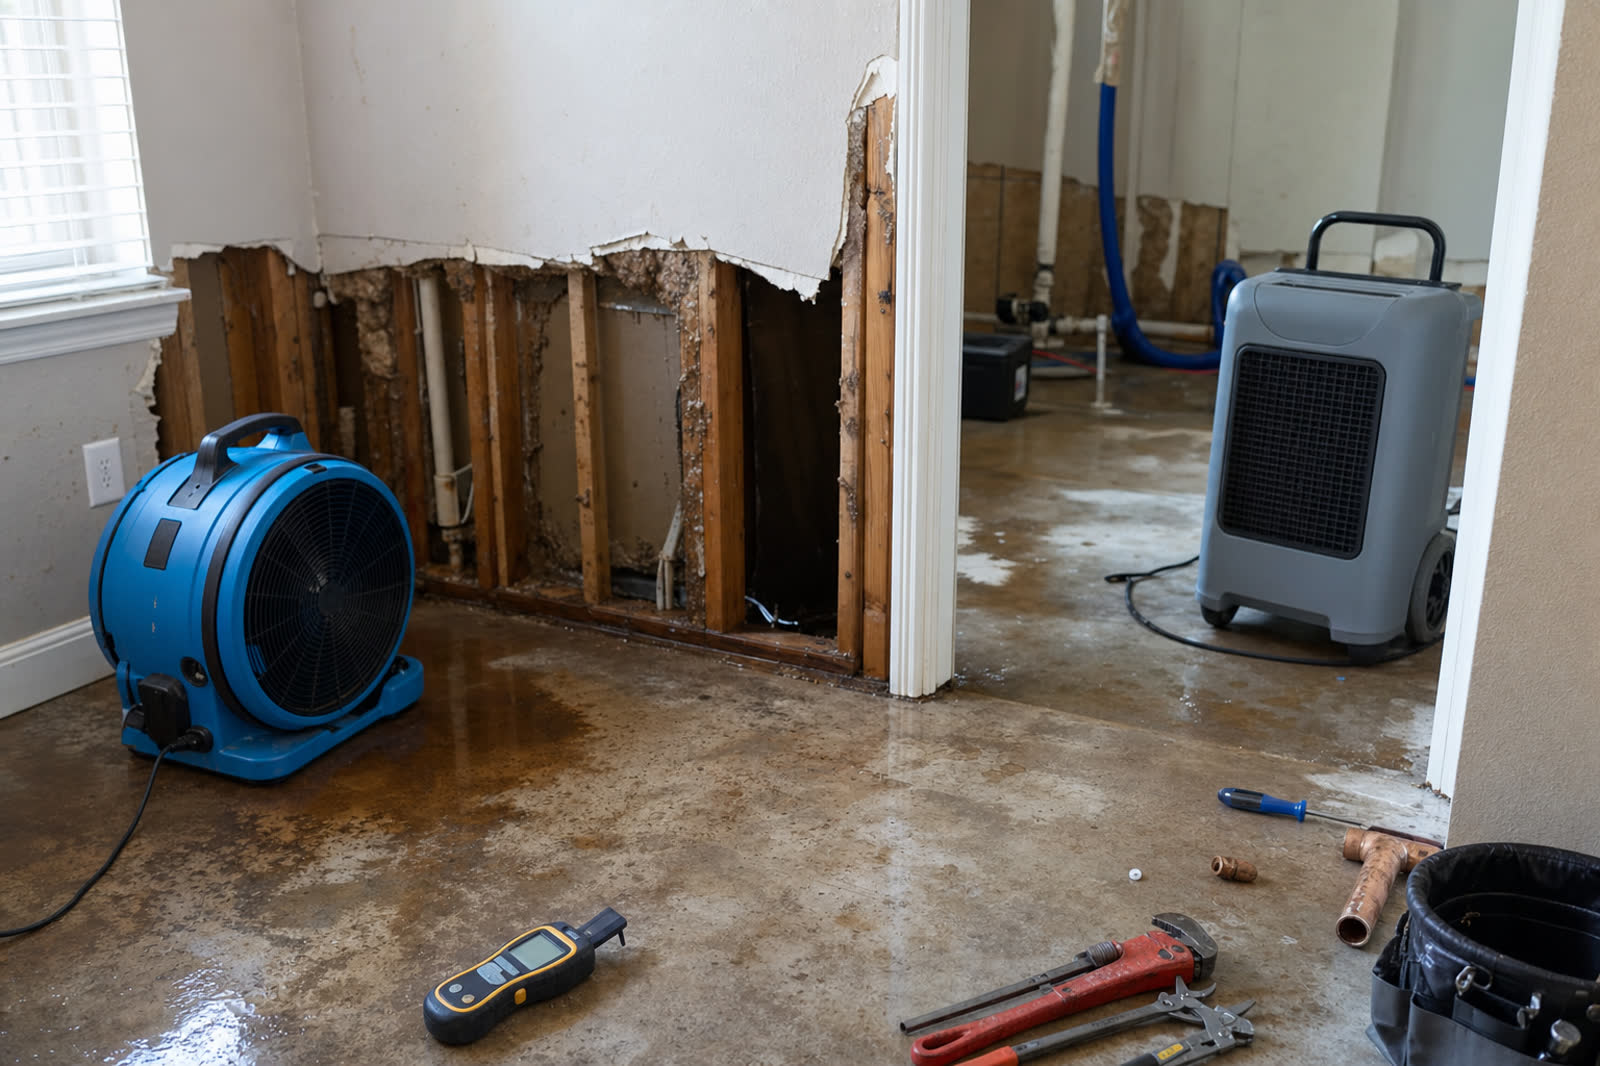
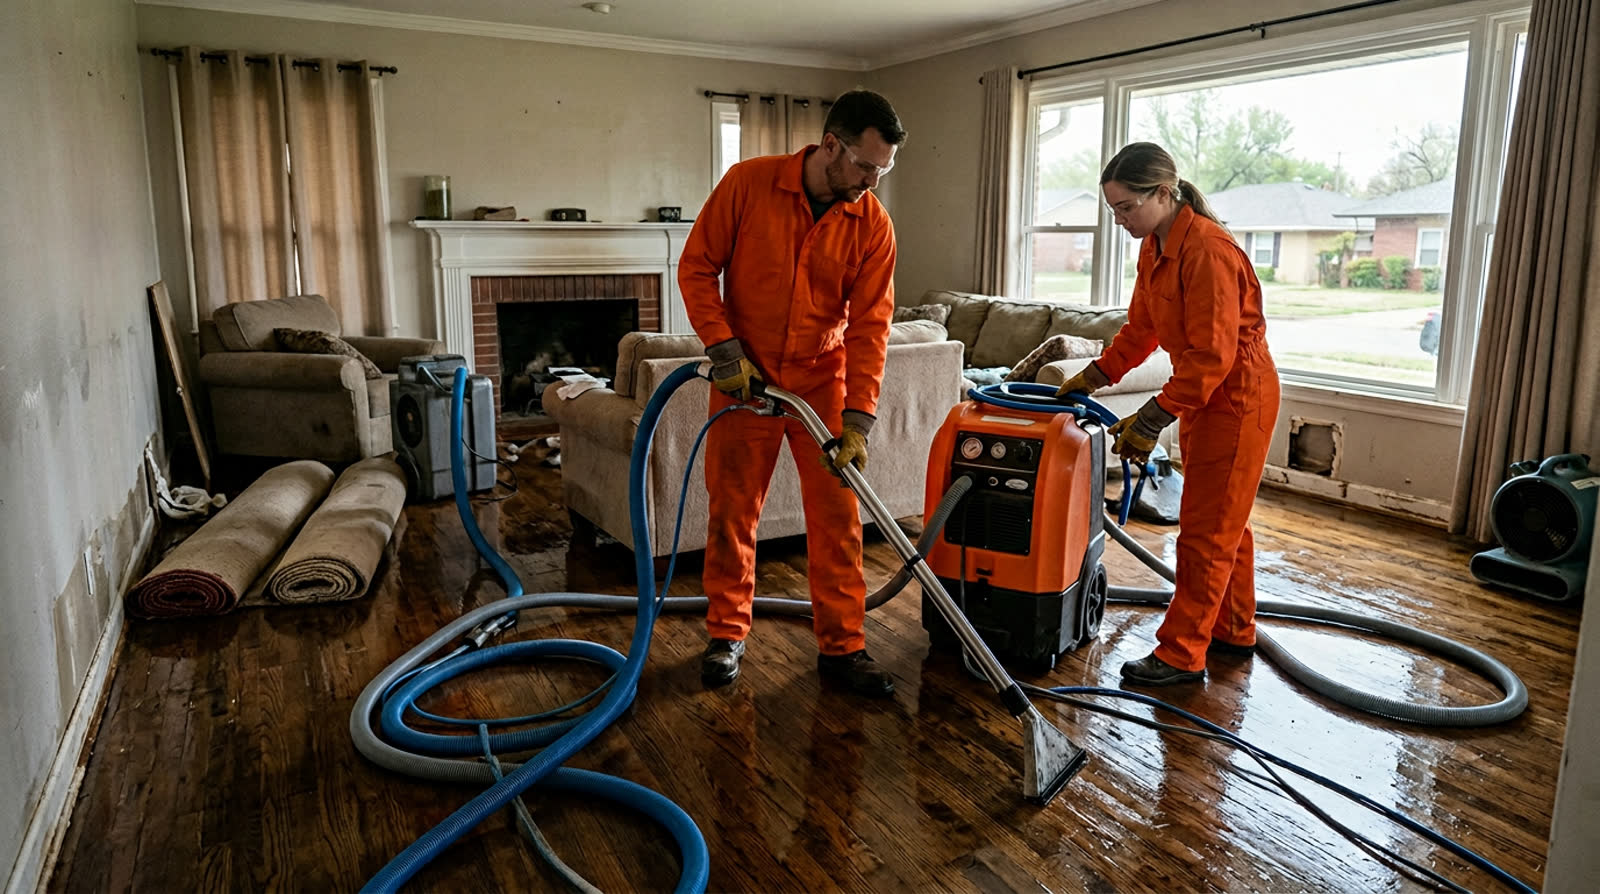
Our water damage restoration process starts with water extraction using truck-mounted equipment. We then place air movers and dehumidifiers strategically to dry structural materials. Moisture meters track progress in walls, floors, and ceilings. Drywall can often be saved if dried within 48 hours. Insulation typically needs replacement after significant wetting.
Prevention Tips for Moore Homeowners
Install a washing machine drain pan beneath your washer if space allows. These shallow pans catch initial water from a burst hose or drain backup, giving you time to notice the problem. Connect the pan's drain outlet to your home's drain system or route it to an exterior location. A pan won't prevent all damage but reduces initial spread.
Single-lever shutoff valves simplify emergency response. These devices replace standard individual hot and cold valves with one control that shuts both lines simultaneously. The lever design operates easily even in tight spaces behind washers. We've installed them in our own homes after seeing too many burst hose calls.
Consider turning off water supply valves when leaving town or whenever the washer won't be used for several days. This simple habit eliminates pressure against aging hoses. Many Moore residents do this routinely during summer vacation travel. It takes five seconds and provides complete protection while you're away.
Maintenance Schedule
- Inspect hoses every six months for damage
- Replace hoses every three to five years
- Check connections for mineral buildup quarterly
- Test drain pan functionality annually if installed
- Verify water pressure stays below 80 PSI
Water pressure regulators protect your entire plumbing system including washer hoses. If your pressure exceeds 80 PSI, have a regulator installed on your main line. High pressure shortens the life of all fixtures, appliances, and supply lines. The investment pays back through reduced failures across your home.
Avoid overloading your washer because excessive vibration stresses hose connections. Follow manufacturer capacity guidelines. An overloaded washer walks during spin cycles, pulling on supply hoses. This repeated stress fatigues the threaded connections and can crack valve bodies over time.
Keep the area around your washer clean and accessible. You need quick access to shutoff valves during emergencies. Don't stack storage against the wall behind your washer. Leave enough room to pull the unit forward easily for inspections. We've seen situations where homeowners couldn't reach valves during a burst because of blocked access.
Need help now? See our full Water Damage Restoration service page or browse all restoration services. Don't see your city above? The full Oklahoma service area covers 27 cities.
Local context for this article: see our Moore, OK restoration page and the Water Damage Restoration in Moore service page.
This guide also pairs with emergency water mitigation and mold remediation when drying is missed.
Can I install washing machine hoses myself or should I hire a plumber?
Most homeowners can safely replace washing machine hoses as a DIY project. The process requires only basic hand tools and careful attention to proper connection tightness. Turn off water valves completely before starting, verify rubber washers are present in new hose fittings, and check for leaks after installation. If your supply valves are corroded, difficult to turn, or located in awkward spaces, a plumber can handle the job quickly. The hoses themselves cost between 20 and 60 dollars depending on type. Professional installation typically adds 100 to 150 dollars in labor. For straightforward replacements with accessible valves, DIY installation works well and builds confidence for future home maintenance tasks.
Authoritative resources referenced
Need restoration help in Oklahoma?
24/7 dispatch, IICRC standards, direct insurance billing.